Showing posts with label Photoshop. Show all posts

Monday, February 6, 2012

DIY: Photo Layouts (via Pugly Pixel)

I love when I get the chance to learn something new and in return get to share my findings with you on this online community! One of my favorite blog design resources Pugly Pixel recently posted how to create your own photo layouts using layer masks in Photoshop. While this may sound a bit intimidating ( I've have this feeling towards them too), Katrina breaks it down step-by-step and makes it super easy and fun to create your own.  I love having the freedom to create new templates to fit how I want my photo story to be organized and laid out. With the help of layer masks you can easily drag and drop your images into your template and then size your photos to your liking. The best part is you can use these over and over and create more whenever your mood or (photo story) strikes! Check out Pugly Pixel to get the full instructions.  Here are a few layouts I've already created and are saving to use in future posts! Can't wait to try em out! Thanks Katrina for demistifing layer masks!


Tuesday, May 18, 2010

Photoshop for Real


Almost better than the real thing! Created by fazyluckers.

Monday, April 12, 2010

Creating Vintage Effects

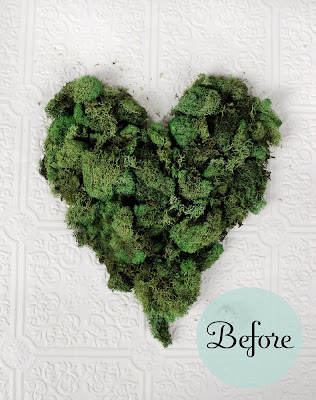
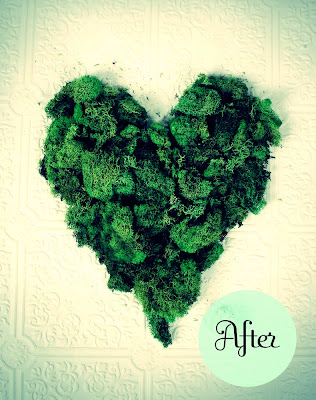
When I spotted this tutorial on how to turn ordinary photos to look like they have seen better days, I knew I had to try it for myself! Although this tutorial (by Veerle) is a bit lengthy, meaning it has a lot of steps to it, I'm really thrilled by the outcome and the way it added a touch of vintage flair to my photos! It's kind of addicting and each result is different, which makes it even more exciting to try out. See for yourself...I bet you can't apply this effect to just one :)
Tuesday, January 19, 2010

Photoshop Fun


I've been playing around and experimenting with the Blur tool in Photoshop today.
It's interesting how in focus the subject becomes once everything else is blurred.
So simple, yet very effective.

Monday, September 22, 2008

{ DIY: Business Cards }

I've been busily working to get this tutorial put together & now I'm excited to share my finds and photos with you to help you create your custom business cards or other promotional materials. I'm a big fan of finding new print materials to play around with and these Avery clear labels + shipping tags are all you really need to create cards that look as stylishly presentable as you are! Enjoy making these in a wide variety of sizes (because the clear labels are actually 8 x 10 sheets of printable goodness!) Make an afternoon of designing, printing, and putting these together. BONUS: I've included this design as a free printable download under the Fresh from EV's Studio column to the right of my blog. Enjoy & happy promoting!


{1}.Laptop
{2}.Printer

{3}.
Avery Labels 25/pk. $23.99
{4}.
Shipping Tags

_______________________________________________

STEP 1: Design & Layout

Using Photoshop or another photo editing program create a new 4 x 6 sized document. I find that designing one label in this smaller document size is easier and allows you to save a smaller file for future revisions. After I'm happy with my design and type placement I create an 8 x 10 document (this is a little smaller than the 8.5 x 11 Avery paper size). Copy & paste your finished label into this new document and arrange your label to desired printable size. (see photo below) For my labels I printed them 3.5 x 1- 3/4 to fit onto my shipping labels. Continue to copy & paste your label until you fill your 8 x 10 document. I was able to fit 17 onto one page. Make sure to leave enough space in between each label to allow for cutting.


_______________________________________________

STEP 2: Printing

Adjust your printers settings to match your paper size & paper type. For this printing material I used the paper size 8.5 x 11 and the setting for luster paper.


_______________________________________________

STEP 3: Cut/Peel & Paste

Once printed I recommend using a straight edge and exacto knife to trim away the excess white around your labels.


Gather your shipping labels and printed labels. Peel the backing off your printed label (yes, these are like stickers)! Place and secure onto the shipping label.


_______________________________________________

STEP 4: Add Personal Touch

Add your finishing touch to your personalized cards & start handing them out! Yay.


Tuesday, July 29, 2008

{ Photoshop Play }

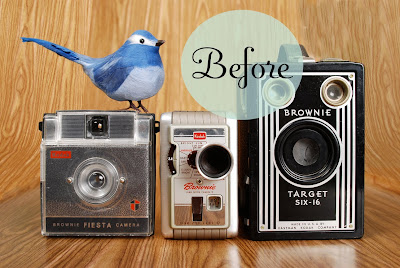
These original photos were cameras from my collection. I transformed them in Photoshop using the diffuse edge filter to give it a grainy screenprint like look. I have plans to use them as promos and will be adding them to my Etsy shop soon.

Tuesday, July 1, 2008

{ Polaroid Play }

Ever wish you could have a photograph in polaroid format? That's what I've done with these food photographs. To create them I took a photo of an actual polaroid and erased its photo in Photoshop. I then took my food photograph and played around with its scale to fit inside the polaroid frame! An easy and playful way to display any photo. Print them out to use as a fun "post-it" note by writing on the white border! Love it ;)